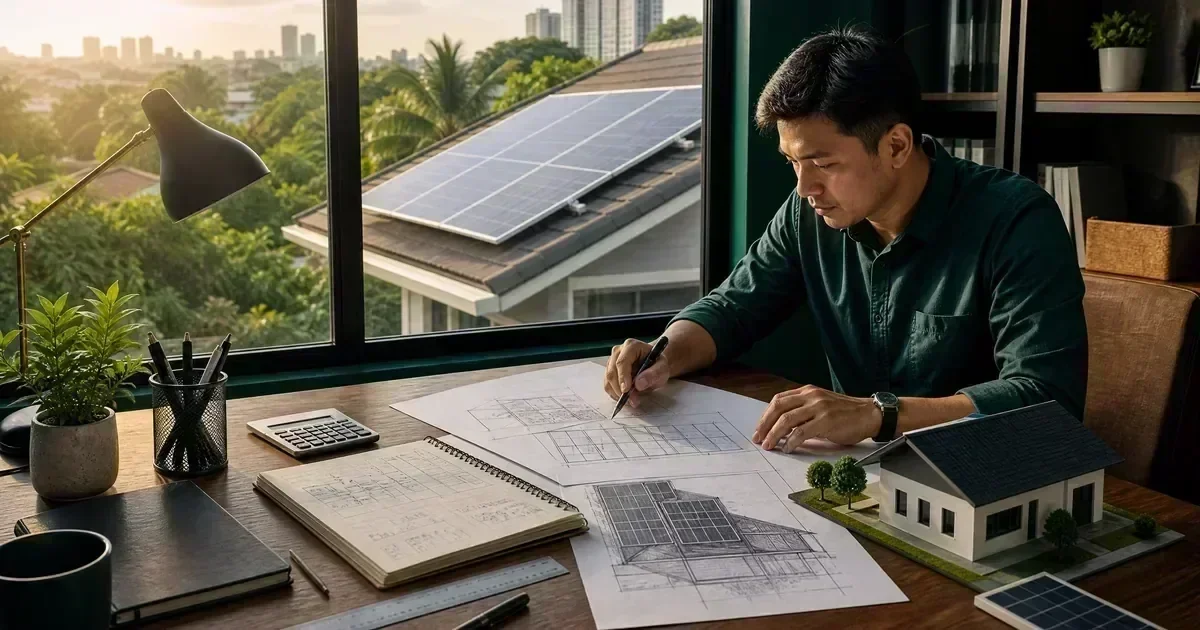
A safety-gated DIY solar installation guide for Philippine homeowners covering planning, roof checks, component documentation, installer handoff, and commissioning boundaries. For the next planning step, see typhoon-proof solar installation guide.
Start with a project boundary
A competent DIY builder can gather load data, compare equipment, sketch the system architecture, prepare a bill of materials, document labels, and check whether a quotation is internally consistent. The boundary changes when the work involves the service entrance, utility interconnection, roof-risk exposure, energized conductors, or a final inspection. At those points, the safe objective is not to prove independence; it is to hand a qualified person a clear, verifiable project file. For the next planning step, see solar wiring architecture guide. For a personalized system check, use the CalcSolarPH solar calculator.
Build a site and load brief
Record the roof material, usable roof area, shade at different times, access route, likely rain exposure, and whether the roof needs repair before equipment is installed. List essential appliances separately from discretionary loads. For refrigerators, pumps, compressors, and air conditioners, record both running behavior and the possibility of startup surge. The calculator is an estimate; actual design still depends on equipment datasheets and site conditions.
Create a component schedule
Make one line for each panel model, inverter, battery, controller, breaker, fuse, surge protective device, cable, connector, rail, and mounting part. Record model number, rated voltage, current, temperature limits, certification information, warranty terms, and seller identity. Matching the exact model number across the quotation, label photo, datasheet, and invoice is one of the simplest ways to catch substitutions. For the next planning step, see solar cable sizing and voltage-drop guide.
Separate preparation from electrical intervention
Preparation can include measuring dimensions, photographing labels, organizing tools, checking that a roof anchor plan exists, and confirming that the proposed protection devices are compatible. Do not improvise a live test, backfeed a receptacle, bridge a protective device, or use an unverified cable as a temporary energization path. Any uncertainty about polarity, grounding, isolation, or the service connection is a stop-and-escalate point. For the next planning step, see solar backfeed and transfer-switch safety guide.
Plan the installer handoff
Give the installer a load schedule, roof photos, single-line concept, component schedule, desired backup circuits, and questions about permits and utility requirements. Ask what work the installer will inspect, what tests will be recorded, what settings will be locked, and what documents will be handed over. A DIY project becomes safer when the professional can audit decisions instead of reconstructing them from scattered messages.
Commissioning is evidence, not just power-on
A proper handover should record equipment serial numbers, protection ratings, measured or verified settings, monitoring access, warning labels, test results, and the boundaries of the backed-up circuits. Ask for a clear explanation of normal status indicators and stop conditions. Keep the final single-line diagram and photographs with the warranty documents.
A practical DIY evidence log
Keep a dated record of assumptions, measurements made from a safe location, photos, model numbers, weather, alarms, and questions for the installer. Good records make troubleshooting faster and reduce the temptation to experiment with energized equipment.
Frequently Asked Questions
Can a homeowner plan a solar system without installing it?
Yes. Load documentation, site planning, equipment comparison, and handover preparation are useful DIY contributions. Final electrical work and utility-related steps should be assigned to qualified professionals where required.
Should I repair the roof before solar?
If the roof has leaks, failing sheets, or uncertain structural support, resolve that question before installing an array. Removing equipment later is more expensive and disruptive.
What is the safest DIY contribution?
The safest contribution is producing accurate information: loads, dimensions, photos, model numbers, assumptions, and questions for the installer.
Use the CalcSolarPH calculator for an initial estimate, then compare the result with the solar products catalog and have the final electrical design reviewed by a qualified professional.